Additional Prerequisites
Live Postalytics test account
Live triggered drip campaign in test mode
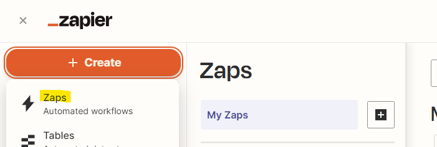
Create a Zap to trigger the webhook action.
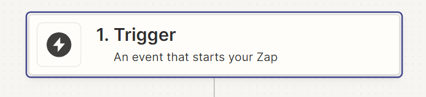
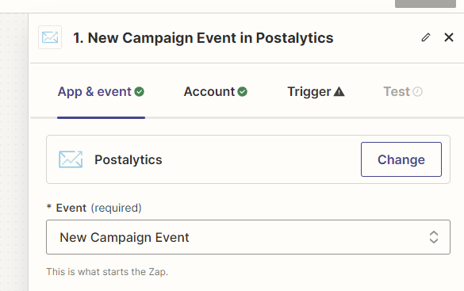
In the workflow setup, select Trigger
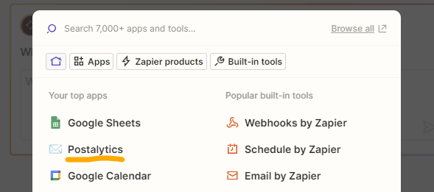
Select Postalytics.
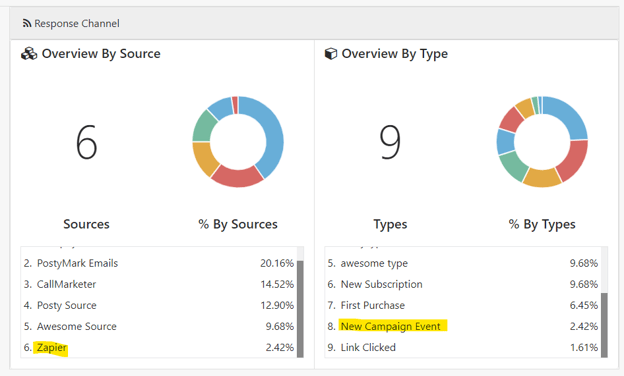
Then select the event “New Campaign Event”
Since Zapier can only be connected to the live Postalytics account, you will have to log into the live account during the setup if you have not connected it before.
Once connected, you will see the connected Postalytics account as shown below:
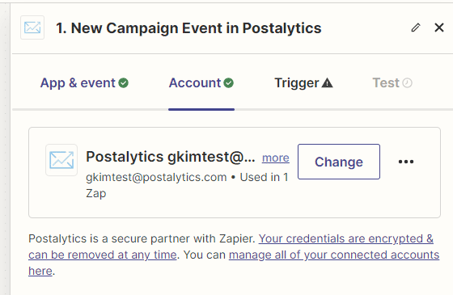
Click Continue.
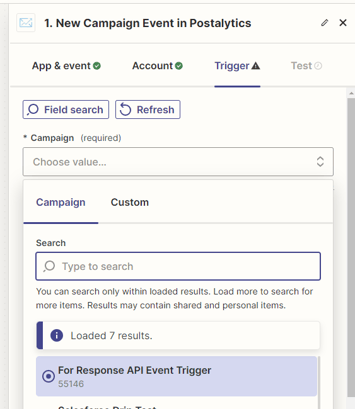
Select a triggered drip campaign you created for the test (Make sure it’s in test mode)
Test the trigger:
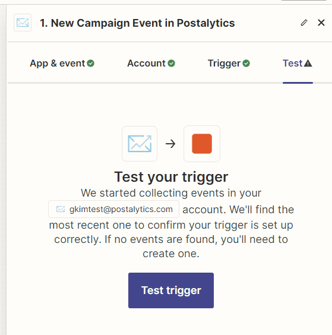
A successful test should look like this:
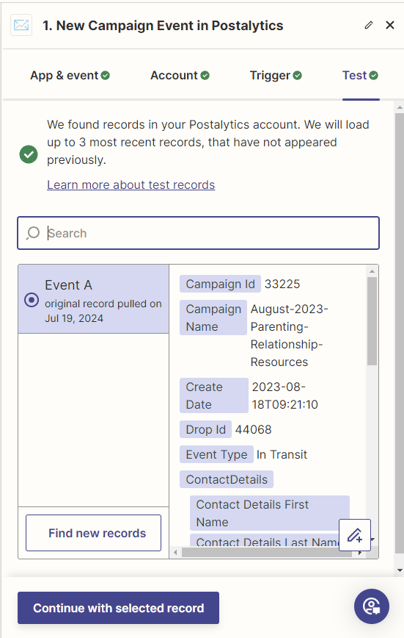
Select “Continue with selected record” then click Action:
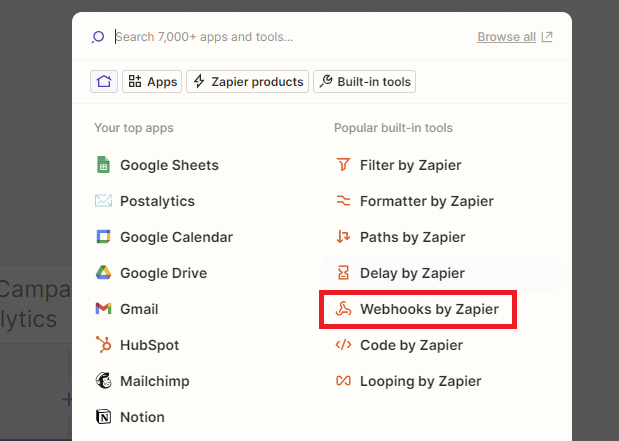
Select “Webhooks by Zapier” (*Only available for premium users)
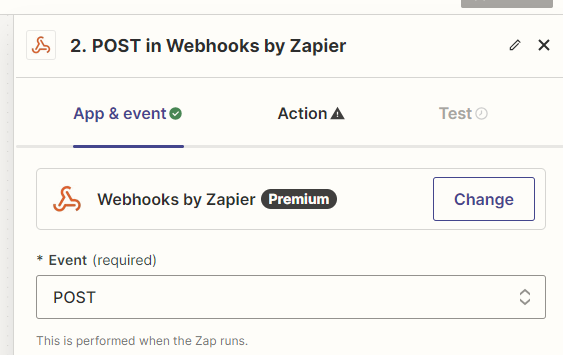
Select POST for the Event:
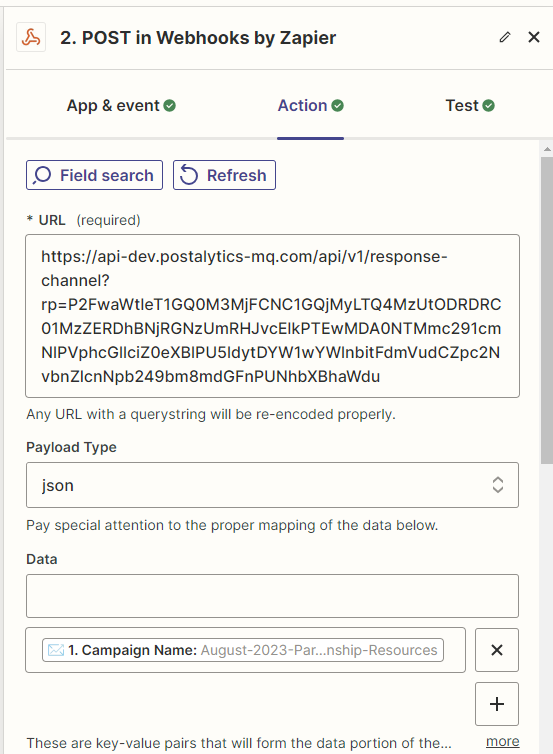
In the Action tab, fill in the following fields:
URL: [Your endpoint URL]
Make sure you created a new endpoint URL just for this Zap. Example:

Payload type: json
Data
You may select the data you would like to include in the body.
Hit Continue and test the webhook. A successful test would look like this

Since this is a test, you can stop here and go back to the campaign dashboard to check the response sync status: